Remco van Diermen is Senior Engineer bij Prodicom. Regelmatig krijgt Remco unieke technische vraagstukken voorgelegd. Deze keer: De Single Mode Kiosk.
I’ve been playing around with Windows 10 Kiosk mode in version 1809. Since the introduction of the MultiApp Kiosk I think it has great potential for Enterprise environments, but there are still a lot of improvements that can be done.
The Single Mode Kiosk is around for a bit longer, but it has it limitations. For instance, the Single Mode Kiosk can only set Assigned Access to a Local User. When you want to manage a Kiosk via Active Directory (e.g. PEAP / Sharepoint Access / Share Access or Web Access) it can’t be done via a local user. In this blogpost I will describe a way to work around this limitation.
In this example I will make a Single Mode Kiosk which automatically logs on a AD user and starts Edge to an internal URL.
I use the Configuration Designer to create a PPKG package to lock a Windows 10 pc in Kiosk mode.
The tool is part of the ADK Toolkit which can be downloaded here:
https://docs.microsoft.com/nl-nl/windows-hardware/get-started/adk-insta
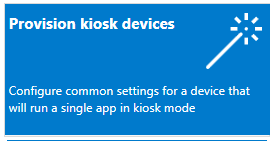
I create a new Project via Provision kiosk devices.
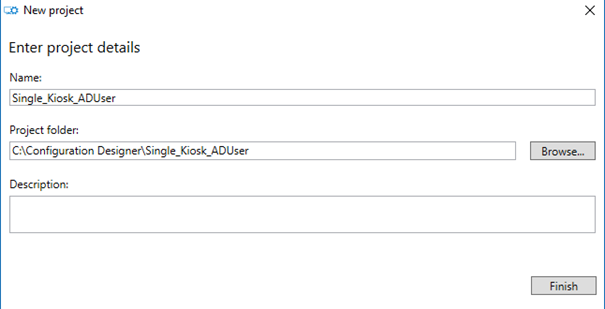
Fill in the Project Name and Project Folder and choose Finish
In the Wizard on I choose the following options:
Set up Device:
Disabled
Set up Network:
I will be using PEAP for the wireless access so also Disabled
Account Management:
My tablet / workstation or laptop is already a member of the Active Directory. So Account Management will be Disabled
Add applications:
Skip
Add certificates:
Skip
Configure kiosk account and app
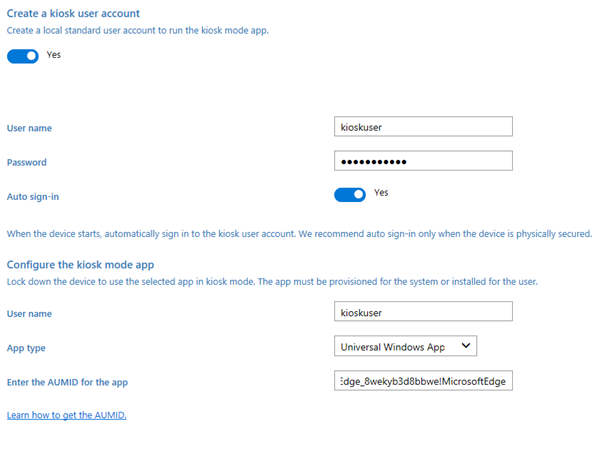
Let the PPKG create a new local user with password. Put Auto sign-n on Yes and fill in the AUMID for the universal windows app. I will be using Microsoft Edge.
AUMID: Microsoft.MicrosoftEdge_8wekyb3d8bbwe!MicrosoftEdge
AUMID of Universal Windows Apps can be found here:
https://docs.microsoft.com/en-us/windows/configuration/find-the-application-user-model-id-of-an-installed-app
Configure kiosk common settings:
Tablet mode: Yes
Configure power settings Yes
Turn off screen timeout: Yes
Turn off sleep timeout: Yes
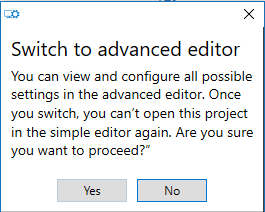
I still have to define the Internal URL, but it can’t be done via the Wizard. So on the summary screen choose Switch to advanced editor. Just choose Yes when the popup shows up.
In the Advanced Editor, go to Runtime settings — Policies — Browser — Homepages and fill in the URL of the Internal website on the network.

Save the project and click Export — Provisioning package

Choose a name for the PPKG package and choose next
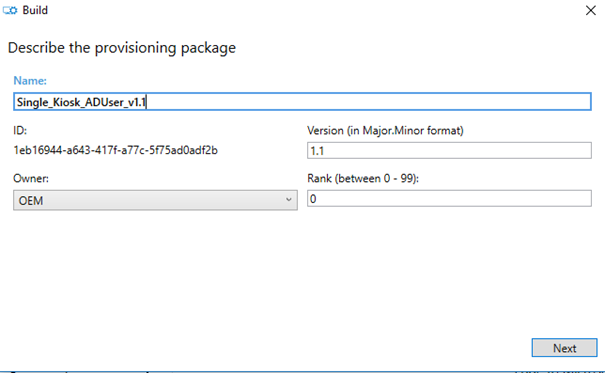
I would recommend using a version number in the package which corresponds with the version number in the version box.
On the Encryption Tab choose next
Save the package somewhere and choose next
Choose Build and finish the Wizard

Copy the package to the Windows 10 machine and install the package
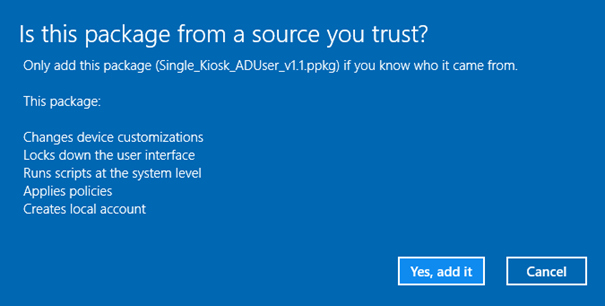
Choose Yes, Add it and Reboot the machine

When the machine has rebooted, it will automatically login with the newly created local user “kioskuser” and points to the Internal URL, but you will get access denied. My IIS website only allows Windows Authentication. So I need to change the AutoLogon from the local “kioskuser” to an Domain User. Firstly I go to the Active Directory and get the SID of the AD user I want to use. Then I change the registry settings of the Winlogon Key.
Go to:
HKLM\SOFTWARE\Microsoft\Windows NT\CurrentVersion\Winlogon
Change the following parameters to the AD user settings:
AutoLogonSID: SID of the AD User
DefaultDomainName : NETBIOS domain name
DefaultPassword : AD User password
DefaultUserName : AD SAMaccountname
Also I have to change the AssignedAccess registry keys to match the SID of the AD User. This still can’t be done via Powershell, so I have to change it in the registry.
Go to:
HKLM\SOFTWARE\Microsoft\Windows\AssignedAccessConfiguration\Configs
Rename the Key with the Local SID to the SID of the AD User. Also change value of the Id property to the AD User SID in the renamed key.
HKLM\SOFTWARE\Microsoft\Windows\AssignedAccessConfiguration\Configs\S-1-5-NEW-SID\Account
After these modifications I need to reboot the machine
Now when the machine has rebooted it will automatically point to the URL, and it will be authenticated via it’s AD Credentials and the internal website is shown.

When the page is successfully shown, I delete the local “kioskuser”.
I also created a Powershell script that does the job.
#SID of the AD User
$SID = “S-1-5-21-1026485530-1075202727-2595178154-1110”

#Change AutoLogon to the Domain User
$AutoLogonSID = $SID
$DefaultDomainName = “DOMAIN”
$Password = “P@ssw0rd!”
$DefaultUserName = “ADKioskUser”

$AutoLogonRegistryPath = “HKLM:\Software\Microsoft\Windows NT\CurrentVersion\Winlogon\”
Set-ItemProperty -Path $AutoLogonRegistryPath -Name AutoLogonSID -Value $SID
Set-ItemProperty -Path $AutoLogonRegistryPath -Name DefaultDomainName -Value $DefaultDomainName
Set-ItemProperty -Path $AutoLogonRegistryPath -Name DefaultPassword -Value $Password
Set-ItemProperty -Path $AutoLogonRegistryPath -Name DefaultUserName -Value $DefaultUserName

#Getting the local SID
$registryRoot = “HKLM:\Software\Microsoft\Windows\AssignedAccessConfiguration\Configs\”
$LocalSID = Get-childItem -Path $registryRoot | %{$_.pschildname}

#Setting the Path for the Assigned Access Registry key
$registrypath = “$registryRoot” + “$LocalSID”

#Rename the Registry Key from the LocalSID to the AD SID
Rename-Item -Path $registrypath -NewName $SID

#Changing the String Value of the new Registry Key
$registrypathNEW = “HKLM:\Software\Microsoft\Windows\AssignedAccessConfiguration\Configs\”+”$SID”+”\Account”
Set-ItemProperty -Path $registrypathNEW -Name Id -Value $SID

#End Script
Dit artikel verscheen voor het eerst op Remcovandiermen.nl

